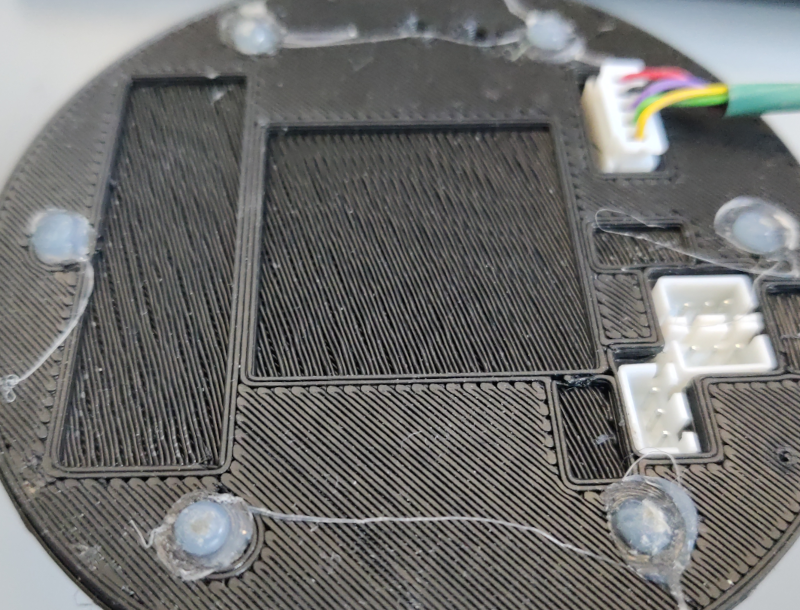
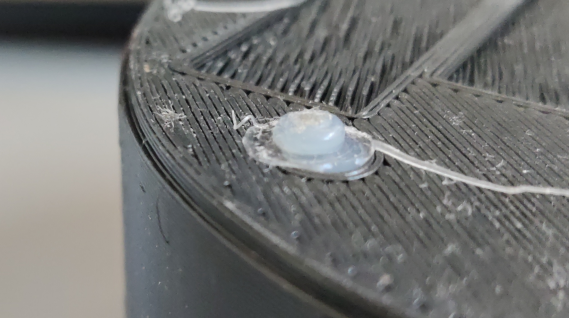
How to simply make rubber feet for projects?
December 30th, 2024 | by Saren Tasciyan | posted in 3D Design, 3D Printing, Design, Guide, Maker/DIY
Background
3D design and printing is great for making enclosures for electronics projects but also for decorations, tools and adapters. Unless, you are using TPU, most materials are rather tough and not soft enough for certain mechanical challenges. Think about your notebook (PC). It stands on rubber feet, which do not only dampen collisions with the desk, they also prevent the device from sliding around easily. Some of us lost these small but invaluable pieces and got annoyed by how slippery plastic is on a smooth surfaces. The solution provided below might also help with such old devices, which lost their limbs throughout the harsh years of mechanical abuse.
When I am designing a 3D printed enclosure for my projects, I try to take the easiest path. This means that I do not want to make complicated multi-material prints. But I want my devices to be functional, robust and easy to use. In addition, I try to avoid complicated locking mechanisms. Instead, I place screw holes with or without threaded inserts for lids and assembly. This has the advantage of having simpler but multiple pieces, which can be tested separately.
If you want to make water tight lids with rubber seal or have rubber feet, typical workflow involved TPU either printed separately or with multi-material printing. However, I discovered a much simpler method, which was not mentioned anywhere after a quick check:
Closest one:
https://www.instructables.com/Make-a-Hot-glue-pads-for-your-stuff
Solution
That’s why I am writing this article. The basic idea is to use hot glue contained by an extra simple part, which can be removed and reused. Hot glue is great because of the bonding property with the plastic. After all, it needs to stick to your part. But we need a temporary piece, which won’t be part of your device only to be used shortly. And the hot glue should not bond to that. Let me explain it in the context of a recent project. I was making a scale for my dog, which contained load cells (weight/force sensors).


These load cells have tips, which can (and they do) damage wooden floors. I needed to protect the floor somehow. These load cells have wide tolerances but it was still easy to design a mounting bracket to mount on the scale and have a plastic padding to have a nicer interface between the sensor and the floor. Here hot glue was used to bond the sensor to this plastic foot/padding. But this still has the problem that the plastic is not a soft material and can slide easily on the floor. Therefore, the second application of the hot glue is to prevent that.
Coming back to the first application, that white is some sort of rubber-like material, which needed to be also protected from the hot glue, in case I want to remove the plastic padding. Removing hot glue from metal is rather easy but not from other silicone like materials. Here are the designed parts:


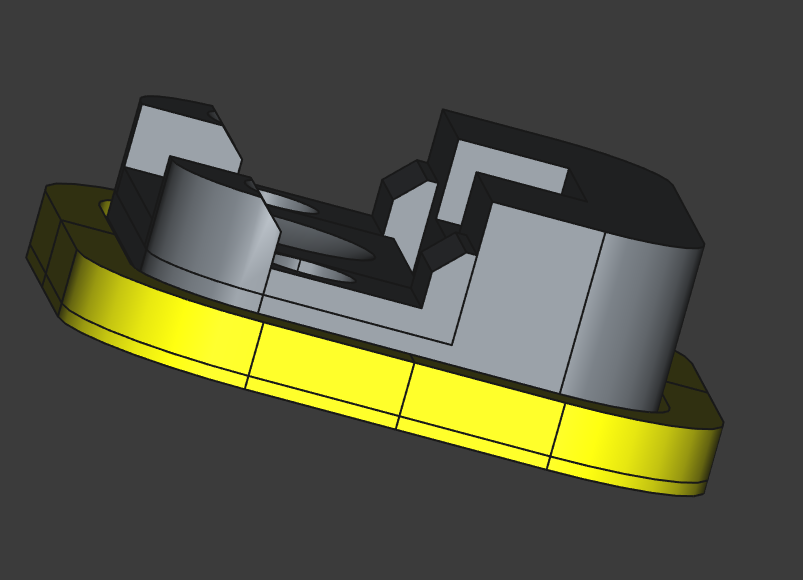
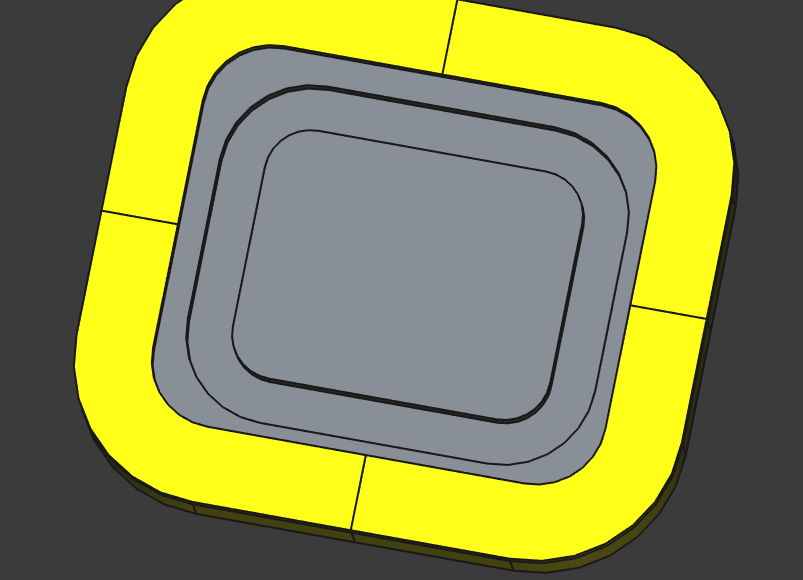
Here the orange part and the corresponding grey part are mounting brackets for the load cell. There are many others on the usual sources but they were not practical for me. Therefore I designed these and placed them on Printables and ThingiVerse. The yellow part is a spacer for the hot glue to have some thickness under the foot (corresponding dark grey part). The plastic foot basically dampens the tip of the load cell and creates a flat bounding surface for the hot glue. This ensures a nice flat, softer contact with the floor without hindering the bending of the load cell. See the pieces below:
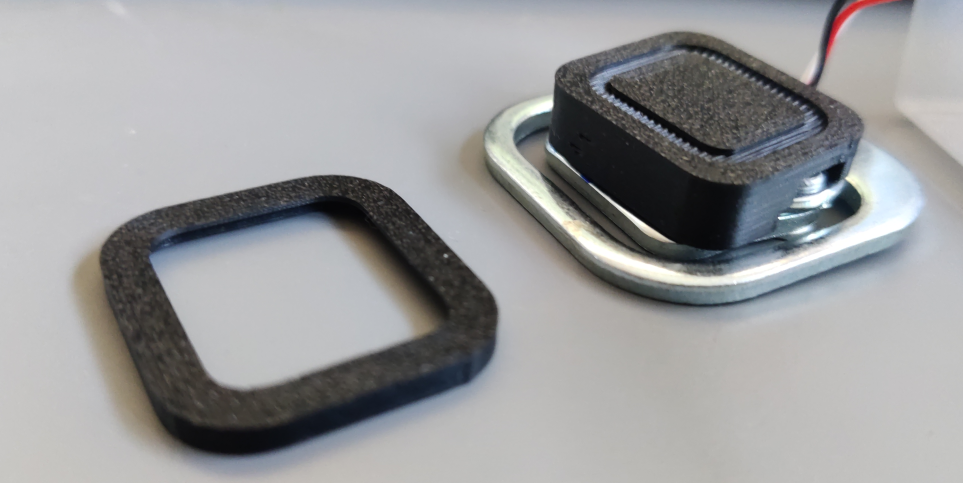
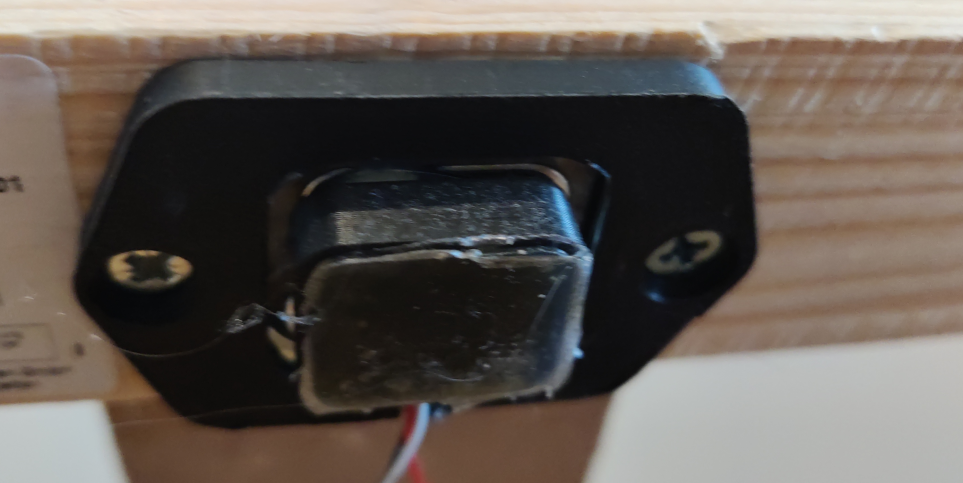
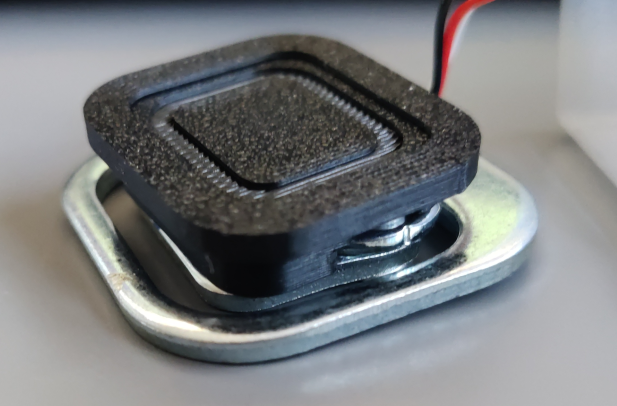
The tiny spacer can be printed only once, since it won’t be needed later on.
How to
It is quite easy to make these rubber feet.
- Design your print to have a larger and rougher contact surface with the hot glue. Design a simple corresponding spacer, which also shapes the hot glue. Think ahead of how you would place this spacer on your print. Ideally, it should fit with a wide clearance.
- Heat up your hot glue gun, get some soap and a flat surface (e.g. glass, metal or ceramic).
- Smear the soap on any surface thinly, where the hot glue should not stick to (e.g. the flat surface and the spacer). Keep all the binding surfaces clean from oils and dust.
e.g. In the example above the dark grey piece would be completely bonding with the hot glue. Yellow piece needs to be protected with the soap and can be reused for another part. Since in this example there is also hot glue between the plastic foot piece and the load cell, I needed to protect the white rubber-like material on the load cell with soap, in case I needed to remove this piece. - Put some hot glue on the part surface such that there is some excess glue and subsequently place the spacer on top.
- Press the sandwich (spacer + hot glue + 3D printed part) on the flat surface gently. Wait until the hot glue is hardened. The duration of this step depends on the temperature of the hot glue you are using.
- Remove the sandwich from the surface and the spacer from the glue. Each peace should come out easily thanks to the soap.
- You may need the cut the excess glue from the piece with pliers.
- Apply the soap again before repeating these steps.
Now this procedure can also be used for water tight lids. I did not try it yet but all you need to do is to have a tight mount (with multiple threaded inserts and screws) and protect one of the parts with soap and bond the hot glue with the other piece. Do not tighten too much during the cool-down process. The rubber should seal well enough to keep the water away. If you try this out please share with me how it worked!
Troubleshooting
- Plastic melts: If the glue is too hot, it may melt the plastic. Particularly thin pieces (< 2mm) can easily melt and get distorted. Cool down your hot glue gun if that is the case. I use my hot glue as soon as it can be ejected. This is typically a lower temperature but gives me enough time to work with it. Also my rubber feet designs are typically small. The volume of the glue is so small that it quickly cools down on the print.
- Bonding: I never had any issue with the bonding with the plastic part. But I typically make a groove/pocket for the silicone to enter. If your plastic is too smooth (e.g. glass print bed), the glue may not bond strongly. See the other example below.
- Spacer does not come off or the soap is too much of a mess: You really do not need large amounts of soap. A thin layer (<1mm) is more that enough. It is more important to spread it nicely. For these small parts it takes less than 10 seconds to go over all of the surface.
Another example
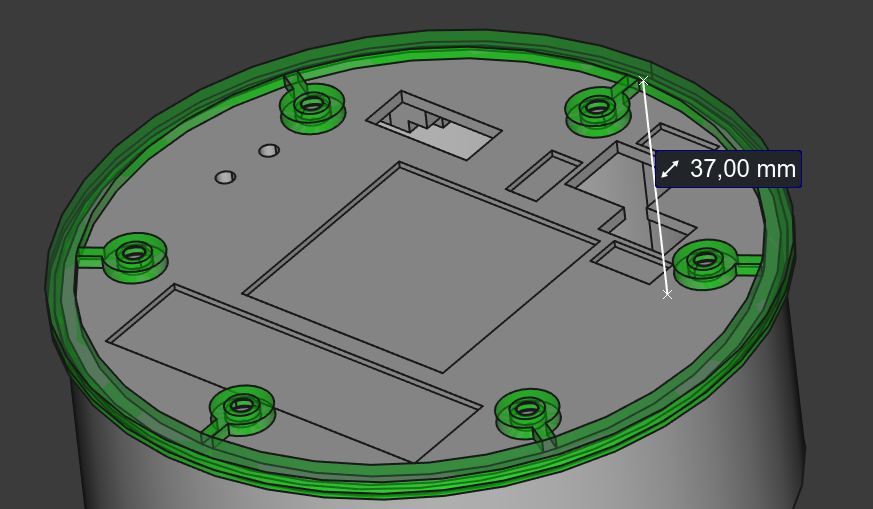
In this project, I needed to place my device on the desk and didn’t want it to slide on the desk.
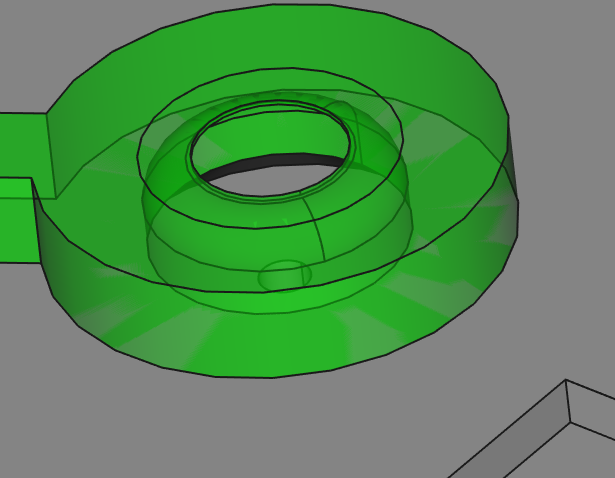
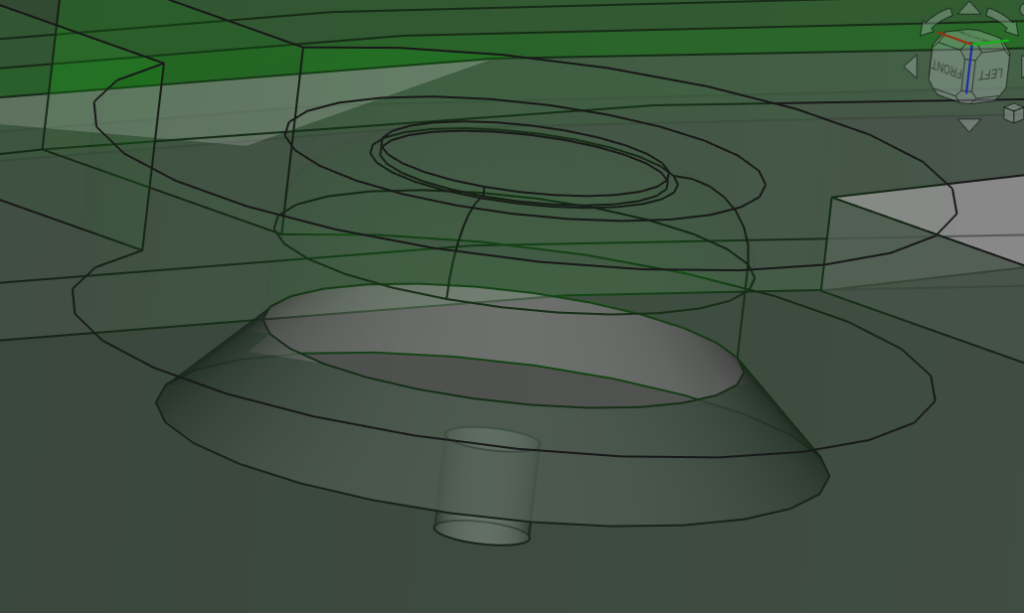
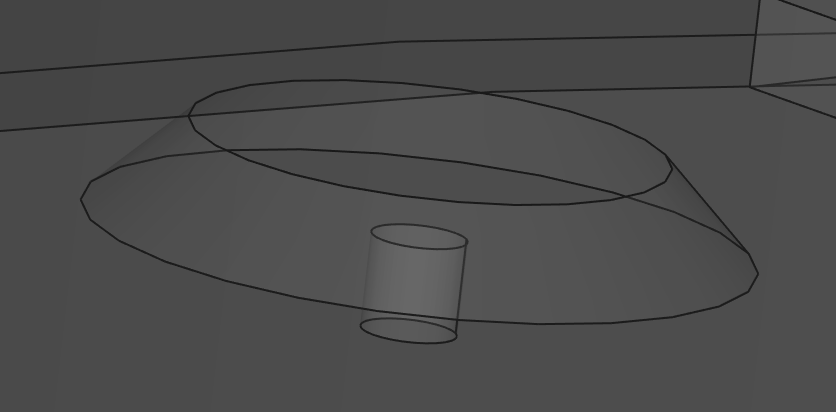
I made pockets on the bottom surface with overhangs for the hot glue to embed itself nicely. The Spacer (green) fits well on the bottom face grabbing the part from the sides and has a rounded room for the hot glue. I left small holes for the excess glue to exit as well. The procedure was the same.
